Wondershare Filmora Guide and Step-by-Step Instructions
Wondershare Filmora A Guide How to Start and New Features Overview
Wondershare Filmora is a video editor that lets anyone to trim, overlay, and edit videos. Although it started out as a video editor suitable for enthusiast-level users, the developer continues to add new features to the software. These features put the software in the same league as some of the top competitors in this segment. Filmora video editor’s interface is visually pleasing and clear, but you might miss some of the advanced features you would find in top-notch video editing software solutions such as Corel VideoStudio and CyberLink PowerDirector. I am going to explore these similarities and difficulties, but before that, here’s the low-down on its good and bad and how to use the software.
Pros&Cons
- Very good rendering speed
- Soothing interface
- A wide variety of overlays and effects
- Low-cost video editing solution
- No VR capabilities
- No chapter or menu authoring
- Multicam editing is not available
Wondershare 13 – What’s New in the Latest Version?
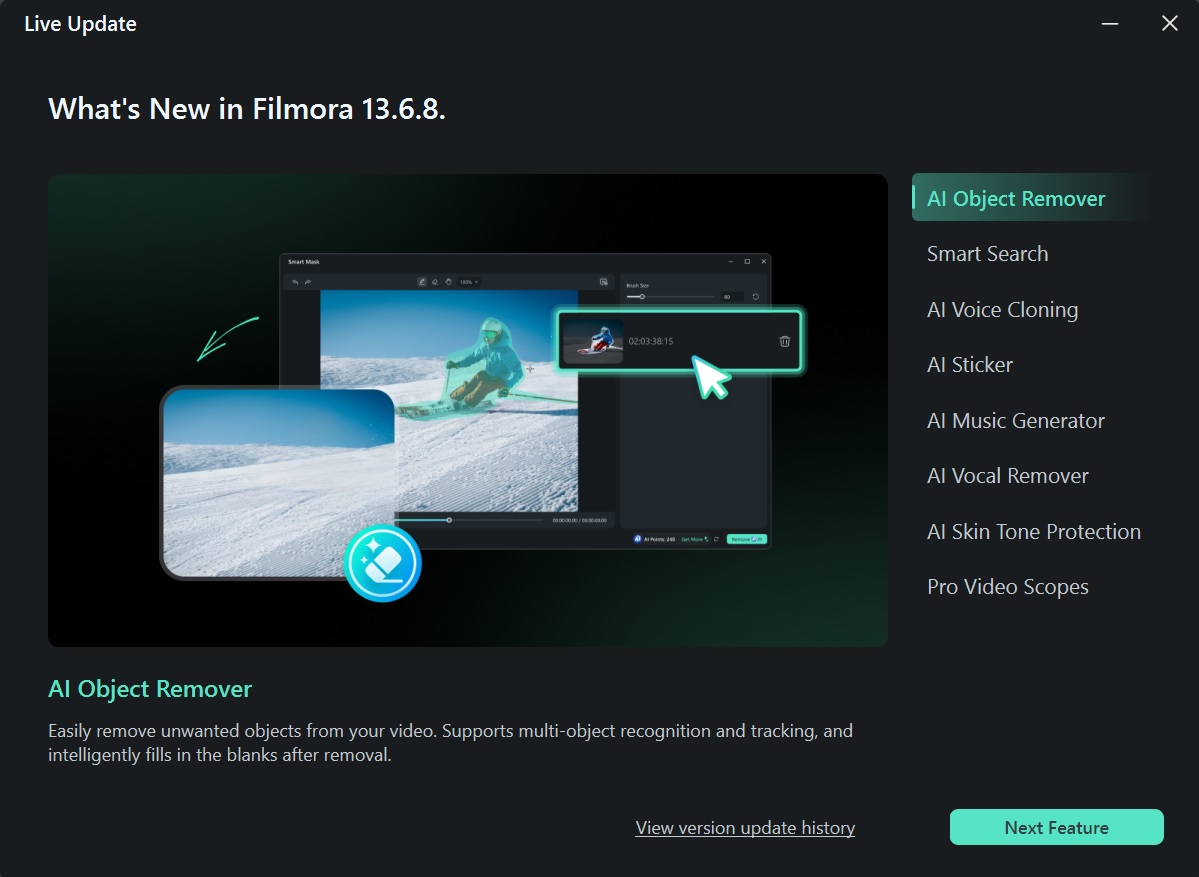
As I stated it earlier, Wondershare keeps adding new features to its flagship software product. Just in 2023, they rolled out the version 12, which ticked many boxes as far as expectations of both beginner and professional video editors are concerned, and in 2025, they unveiled the latest version of the same software, which is the version 13. Quite unsurprisingly, it’s laden with generative AI features that have become the “in thing” since last year.
So what’s new in the latest version? It has got AI copilot editing, which is an intuitive chatbot that puts forward edit suggestions and based on an NLP (Natural Language Processing) model, an AI text editing tool, which lets you edit videos with auto-generated textual captions, AI auto-masking, which is an intelligent tool that easily identifies focus objects or people to make it easier for you to blur out the background. Here’s a detailed overview of why the version 13 is a big upgrade from the last one.
Version 12 vs 13 Features Comparison Table
| Feature | Wondershare Filmora 12 | Wondershare Filmora 13 |
| AI Copilot editing | ||
| AI Text-based editing | ||
| AI Auto Masking | ||
| AI Music Generator | ||
| AI Image Creator | ||
| Avatar Presentations | ||
| Compound Clips | ||
| AI Vocal Remover | ||
| AI Translation | ||
| Other Features | New layout options, Smart Cutout tool, audio stretch, audio denoise, adjustment layers, powerful keyframing, mask drawing, enlarged library of stock content | All features from version 12 plus new AI-powered tools |
How to Use Wondershare Filmora – A Step-By-Step Guide
On my first encounter with the software, I found it extremely easy to use even for a beginner. It helps you tell a story irrespective of how experienced or skilled you are. Importing and editing videos is a cakewalk, and you can add all those overlays, transitions, and special effects easily, not to mention share the final output on social media and mobile devices.
Before you start using the software, gather and save all the media files and footage you need locally, on your PC. Check out the list of supported formats to make sure you don’t end up using another software for converting your media files. The latest version can be downloaded for any Windows 7 system or higher or mac OS 10.14 or higher. You can also download and install it on your Android or iOS device.
To get started, download the setup file from the Filmora website. The file comes with an.exe extension. You will be prompted by your Windows PC or Mac to click “Install Anyway”. Click it and then click “Yes” to proceed with the installation process. With high speed internet connection (100 mb/s) the downloading process took me about 4 minutes.
When you first start the program a short step-by-step auto guide occurs with basic actions like adding a video file and an effect to the time frame and exporting video.
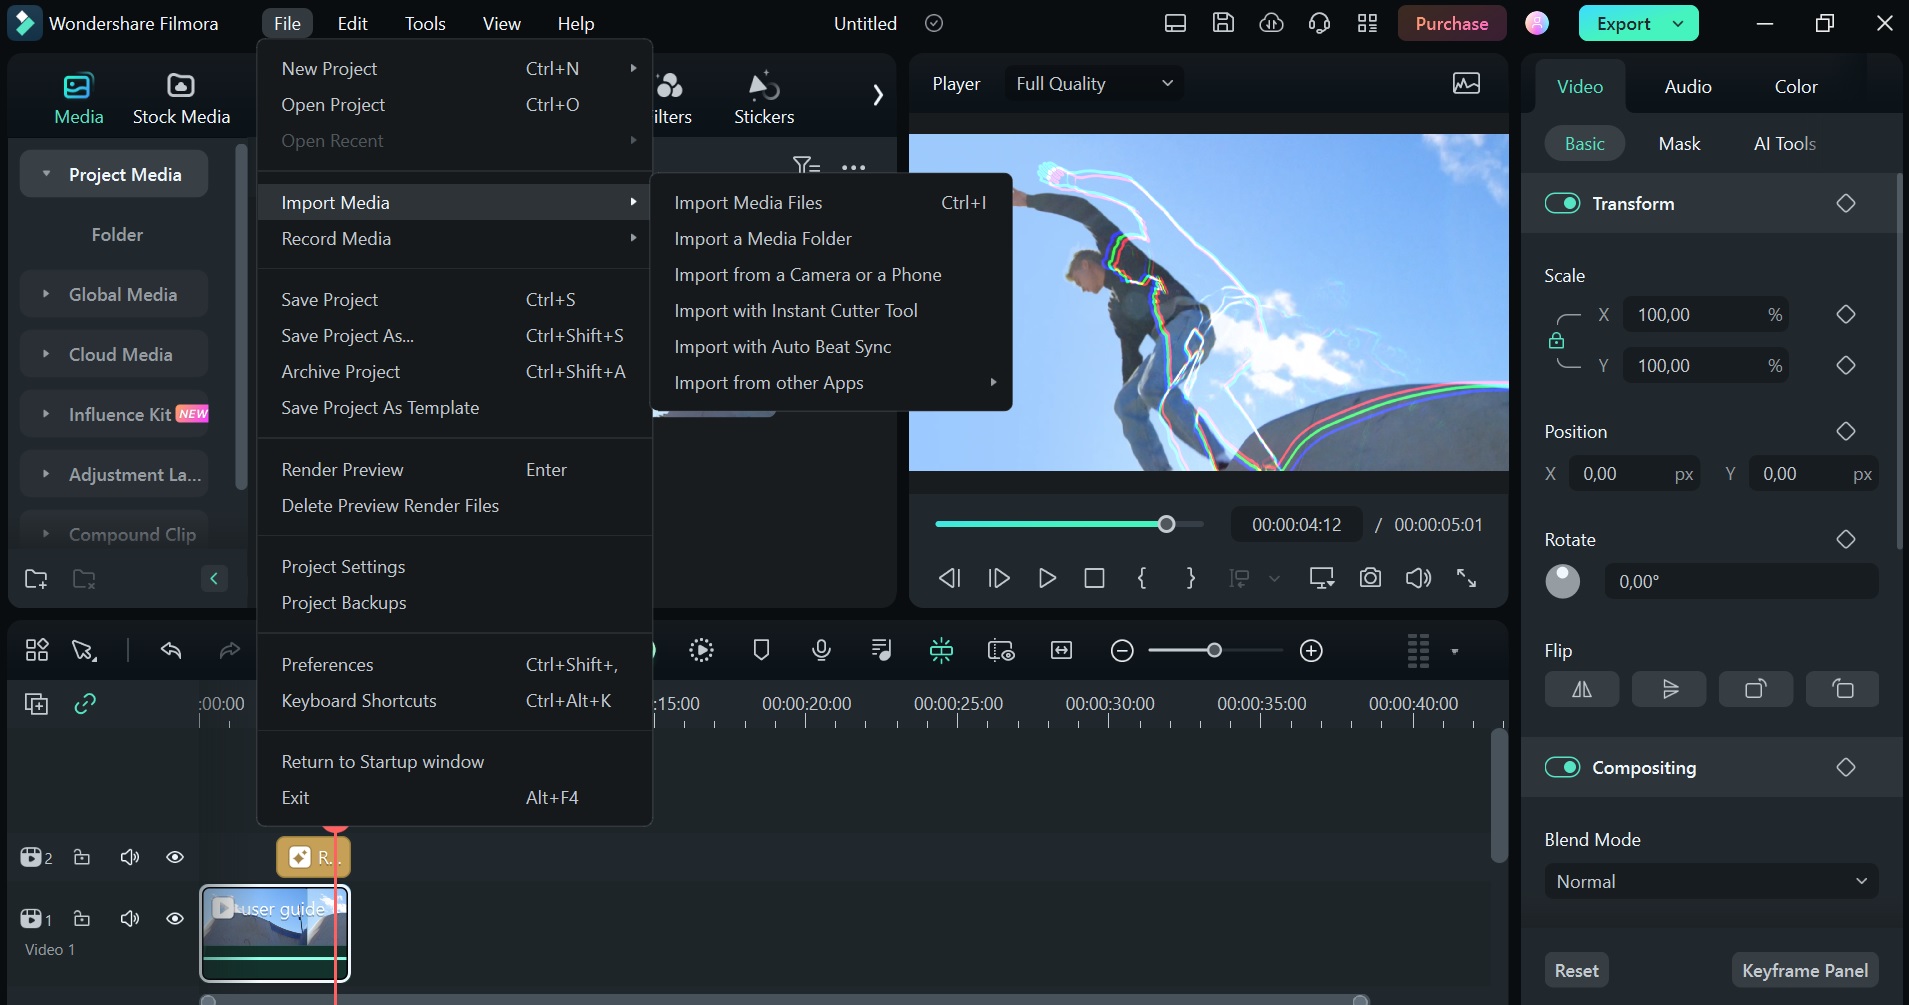
Open Filmora and create a new project (or if you are an existing user, open an existing one). Since I was using it for the first time, I clicked “New Project” in the main window. You may also navigate from “File” to “New Project”. Next, import all the media files you need for the new project. Tap the “+” icon you see to add media files to the library.
Next, drag the drop the media files to the timeline from the library. You can also right-click on the media file in the library to explore additional options such as Overwrite, Append and Insert.
I recommend editing your video by giving it a title. Pick a title template, type in the title, and adjust the appearance to your preference. Next, you can start adding filters, effects, and music to your video.
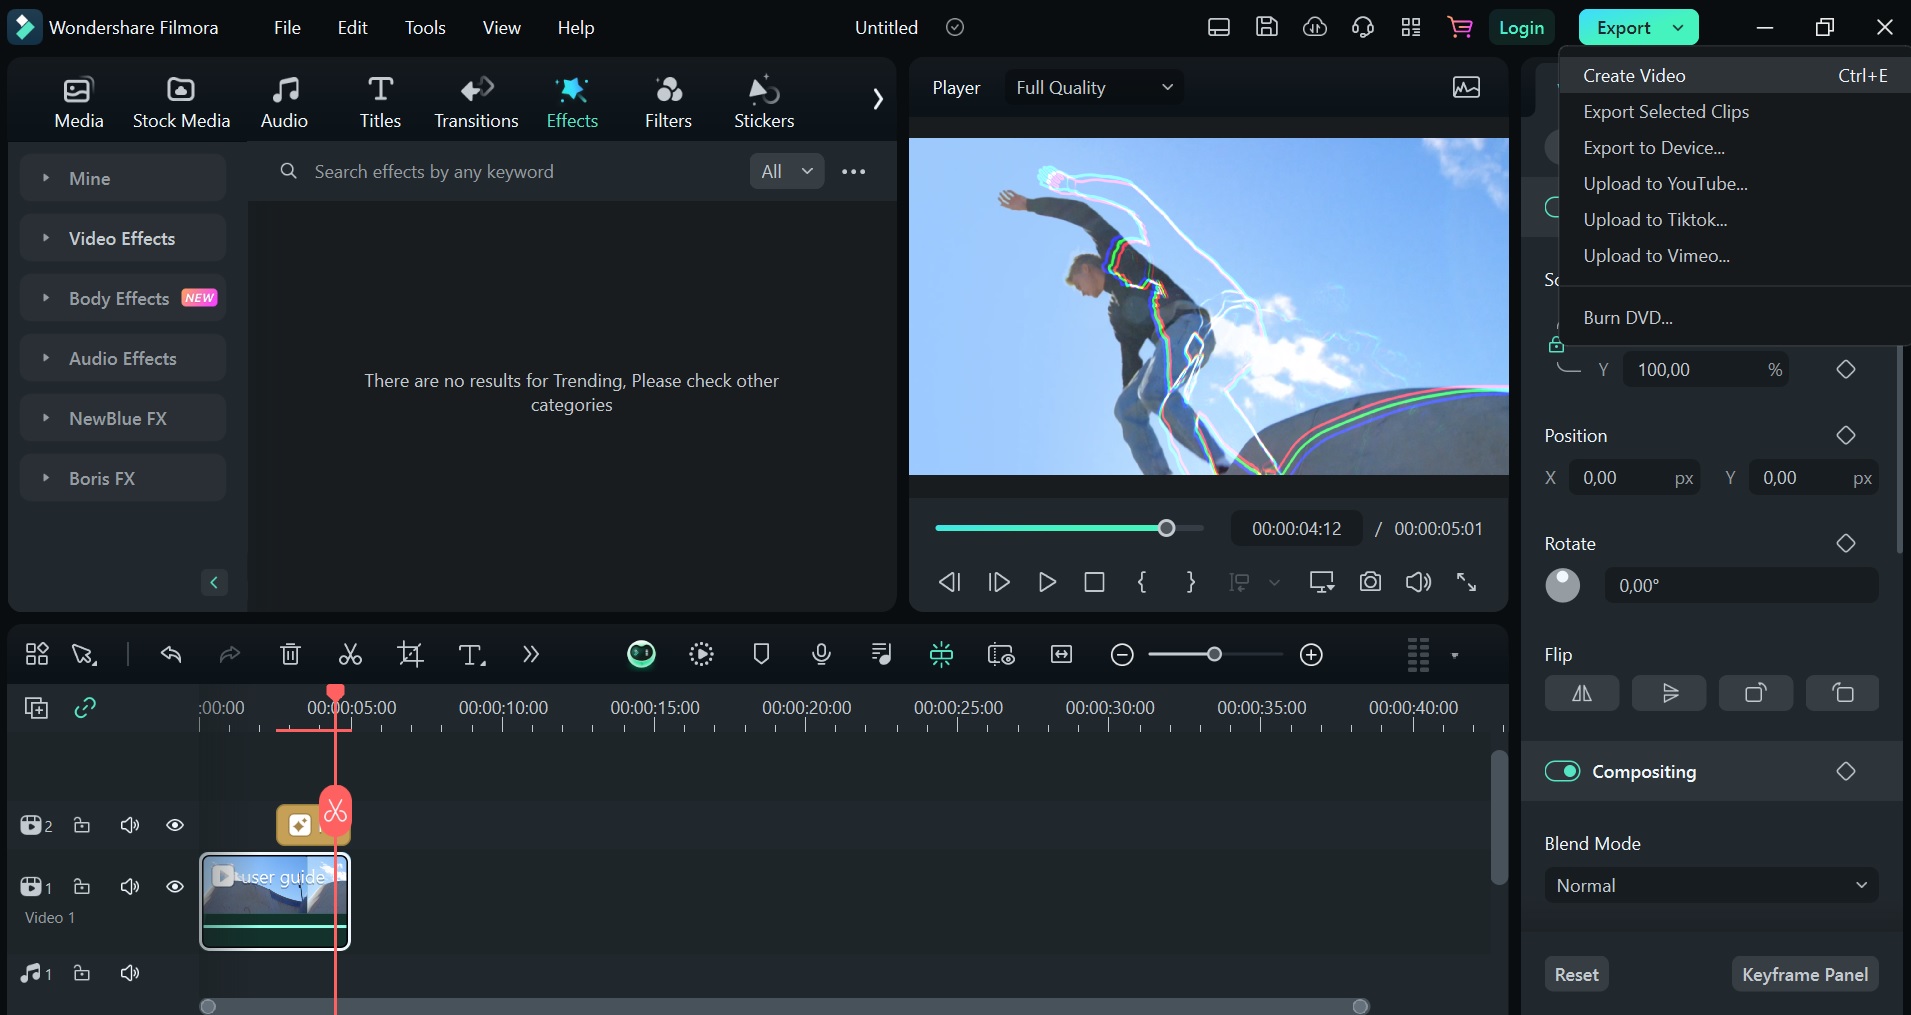
Once you are done, start exporting and sharing your edited video file. Access the “Export Settings” or choose the DVD tab to get started. Choose aspect ratio and other settings as required. You can also save the file locally and share and use it later.

Wondershare Filmora – Are People Searching for It Online?
A good way to know whether a product, institution, person, or anything under the sun is gaining traction in the market is to gauge whether people is searching for it. So I decided to use Google Trends, which is the tool I always use for assessing search interest for a lot of things, software products included.
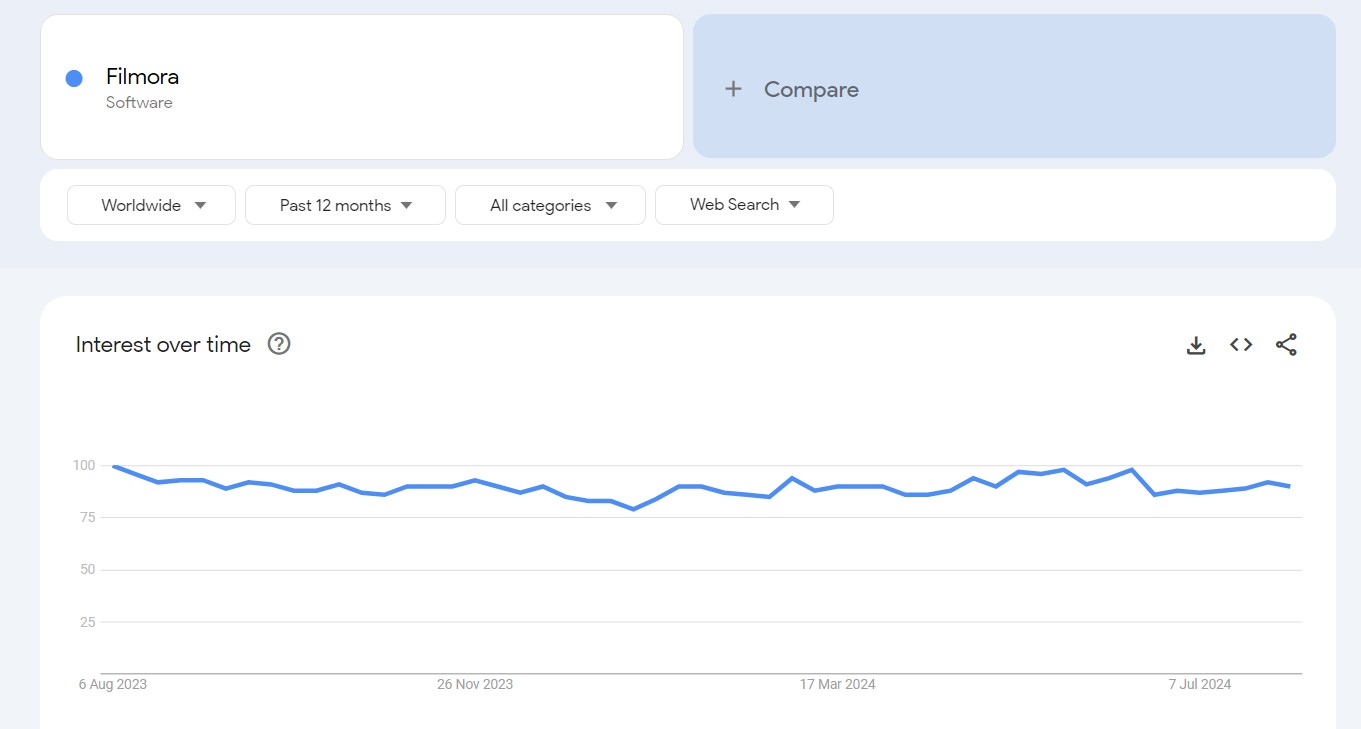
When I first checked the search interest for Filmora, I found that the software enjoyed quite a high volume of searches over the past year. Yes, there have been fluctuations too, but overall, the trend remained stable. It shows that users have relied on it, searched for it, and the software has been able to acquire new customers.
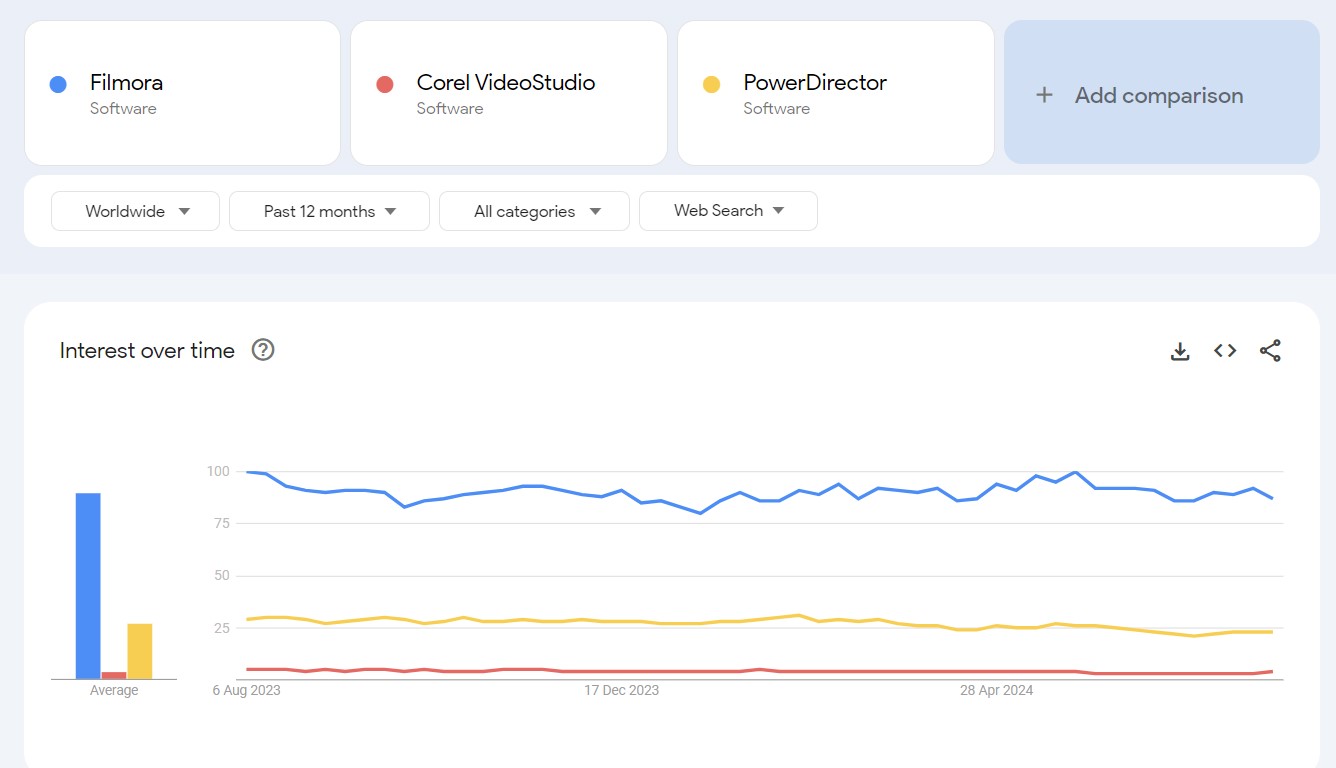
To put it into a perspective, I decided to pit it against two of the giants in the video editing software category segment – Corel VideoStudio and CyberLink PowerDirector. To my surprise, Filmora leads the pack among the three. While PowerDirector shows moderate interest growth, Corel’s video editor lags far behind. It is clear from the search trends that Filmora is the preferred choice among most users.
Wondershare Filmora vs Competitors – An analysis
| Feature | Wondershare Filmora | CyberLink PowerDirector | Corel VideoStudio |
| Supported Devices (OS) | Windows, Mac, Android Phone, iPhone | Windows, Mac, Android Phone, iPhone | Only Windows PC, No mobile apps |
| Features | Creative video effects, filters, limited audio editing, supports most video formats and resolutions | Advanced editing tools, multi-cam editing, motion tracking, 360-degree editing, robust audio editing | Basic video editing, fewer advanced features compared to others |
| Pricing | Affordable monthly/yearly plans, one-time purchase option, free trial version available | Different versions with varying prices, including subscription-based models, free version available | Free trial version available, only one-time purchase option, monthly/yearly plans not available |
| 3D Video Editing | |||
| Animations & Transitions | |||
| Audio Capture | |||
| Audio Mixing | |||
| Content Management | |||
| Data Import/Export | |||
| Drag & Drop | |||
| Image Editing | |||
| Media Library | |||
| Speed Adjustment | |||
| Split/Merge | |||
| Subtitles/Closed Captions | |||
| Supports HD Resolution | |||
| Overlays and Templates | |||
| Text Editing | |||
| AI Tools |
Each of the products has its own set of strengths and weaknesses. While Filmora and PowerDirector support Windows, Android, Mac, and iPhone, Corel’s VideoStudio can only be used on Windows systems, and it doesn’t come as a mobile app as well.
Filmora has everything you need to edit videos, starting from creative effects to filters, and what I liked most is that the user-interface is extremely user-friendly. However, its editing capabilities are limited compared to PowerDirector, which I recommend to advanced users or prosumers. It has motion tracking, multi-cam editing, and sophisticated audio editing features. VideoStudio also is a good tool for beginners, but it is not suitable for more complex editing projects as it lacks some of the advanced tools.
However, the two competitors offer a few extras that Wondershare Filmora doesn’t. These software products come with audio capture, audio mixing, and 3D video cutting tools, but Filmora lacks all of these. It does offer templates and overlays, features that you won’t find in VideoStudio. All of these software products come with transitions, content management, drag and drop functions, image editing, text editing, and media library. To put the cherry on the top, all of these offer AI tools, and Filmora again leads the pack in this regard.
What Are the Real Users Saying about Wondershare Filmora?
I found the user reviews of Wondershare Filmora mostlt positive. Merlin Huxley on Trustpilot, for example, appreciated its effects, filters, and export presets. The user, however, pointed out that the rendering duration can be painfully long, which is the same impression shared by users on other platforms.
Daneil, a Software Advice community member, mentioned that the software occasionally crashes, especially when he tries to render large files. Another G2 reviewer praised it for the creative and AI features. Overall, despite the performance issues as reported by some users, the software product has been lauded for its extensive set of features and user-friendliness.
Should You Use Filmora?
Filmora has definitely got the sleek interface everyone looks for. It has got text tools, nice effects, filters, templates, AI tools – much more than you would expect in an enthusiast-level video editing software. The rendering speed of the updated version is on par with many competitors.
However, if you are an advanced user looking for image denoise, multi-cam or stabilization, I would recommend choosing more advanced tools such as PowerDirector and VideoStudio. If you are using a Mac, go for Final Cut Pro. Filmora is an automatic choice for beginners and can possibly fit the bill for some advanced users too.

I do agree with all of the ideas you have offered to your post. They’re really convincing and can definitely work. Still, the posts are very short for beginners. May just you please lengthen them a little from subsequent time? Thanks for the post.|